Roof Fall Protection
Fall Prevention
Easy Setup
OSHA Compliant
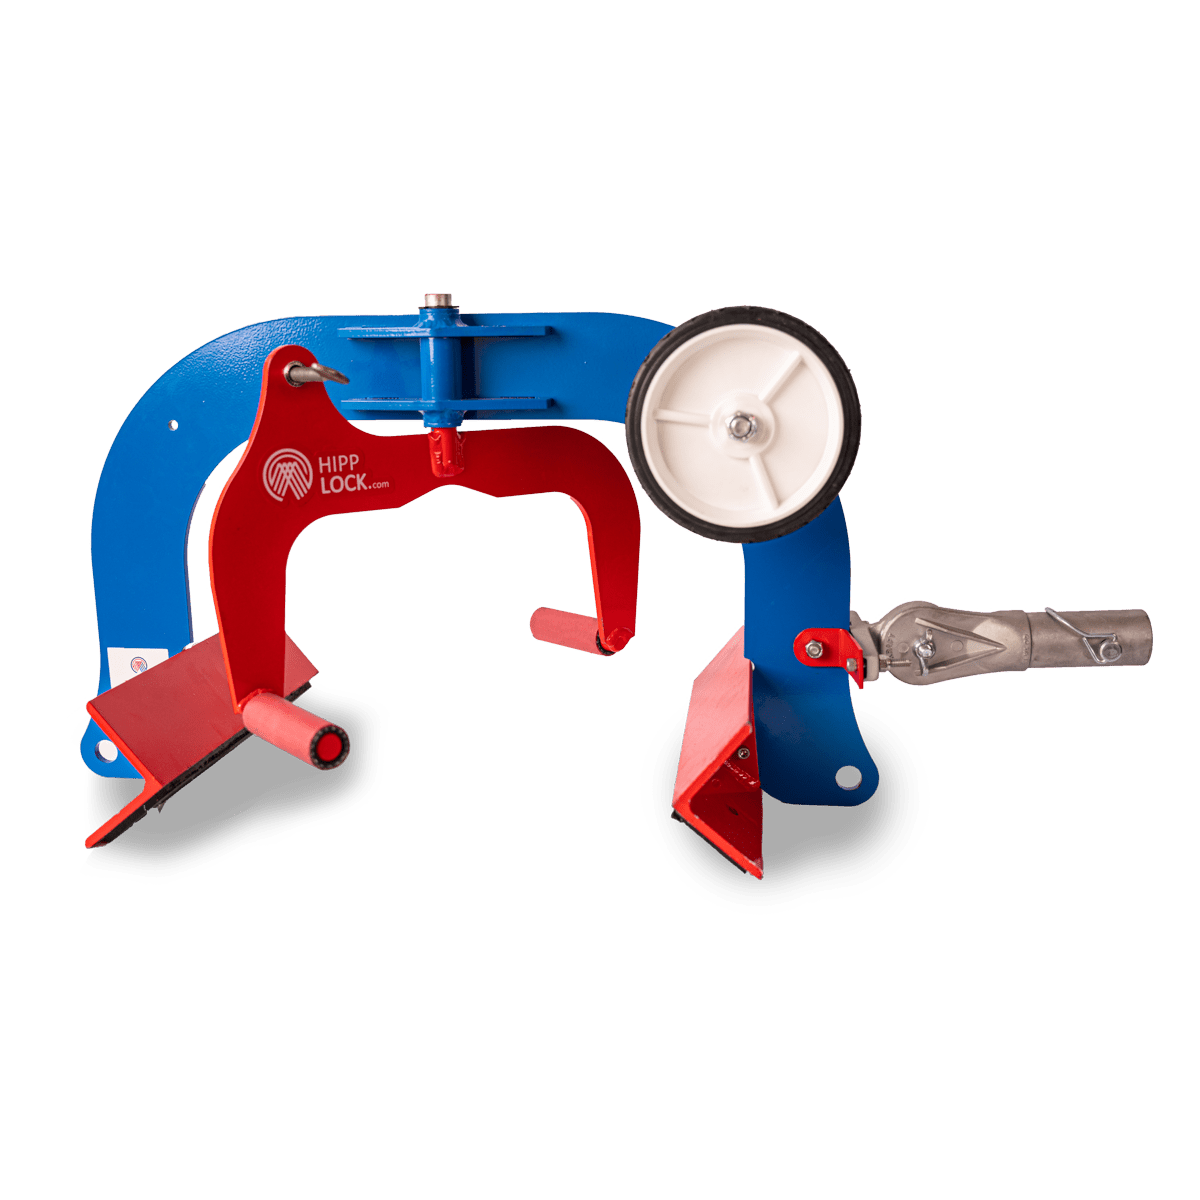
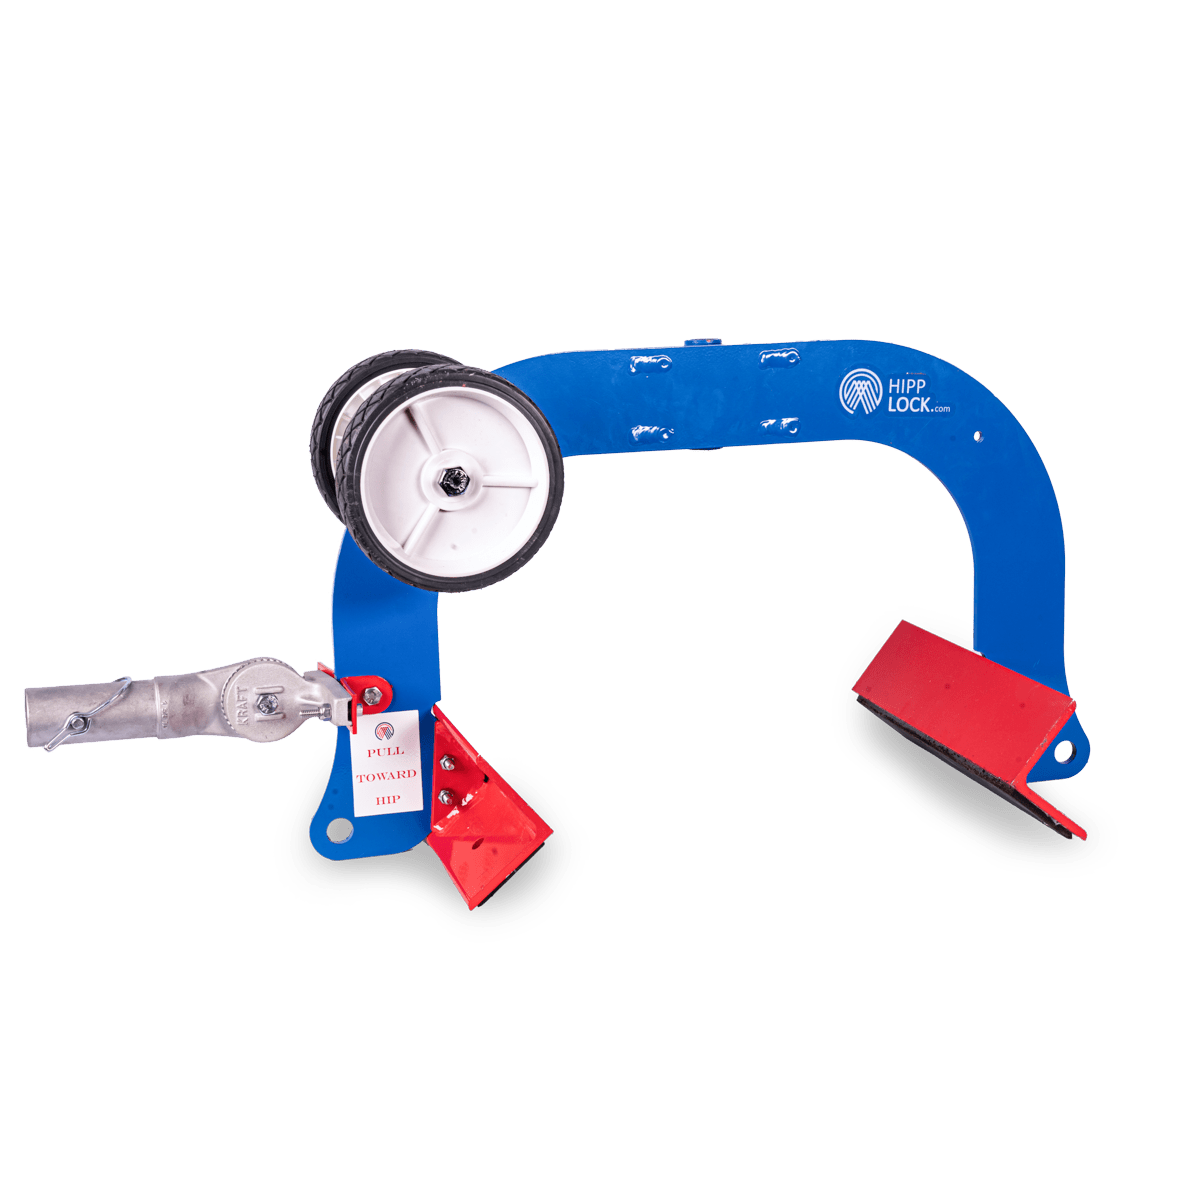
- The HippLock hook
- 2 feet with rubber pads
- The outrigger with rubber pads and adjustment bolt
- 7″ caster wheels
- 5 x 4-foot poles
- Pole connector
- Parts kit
Shipping in the Continental US only. Canada and other countries – please call for shipping prices.
A Professional Opinion
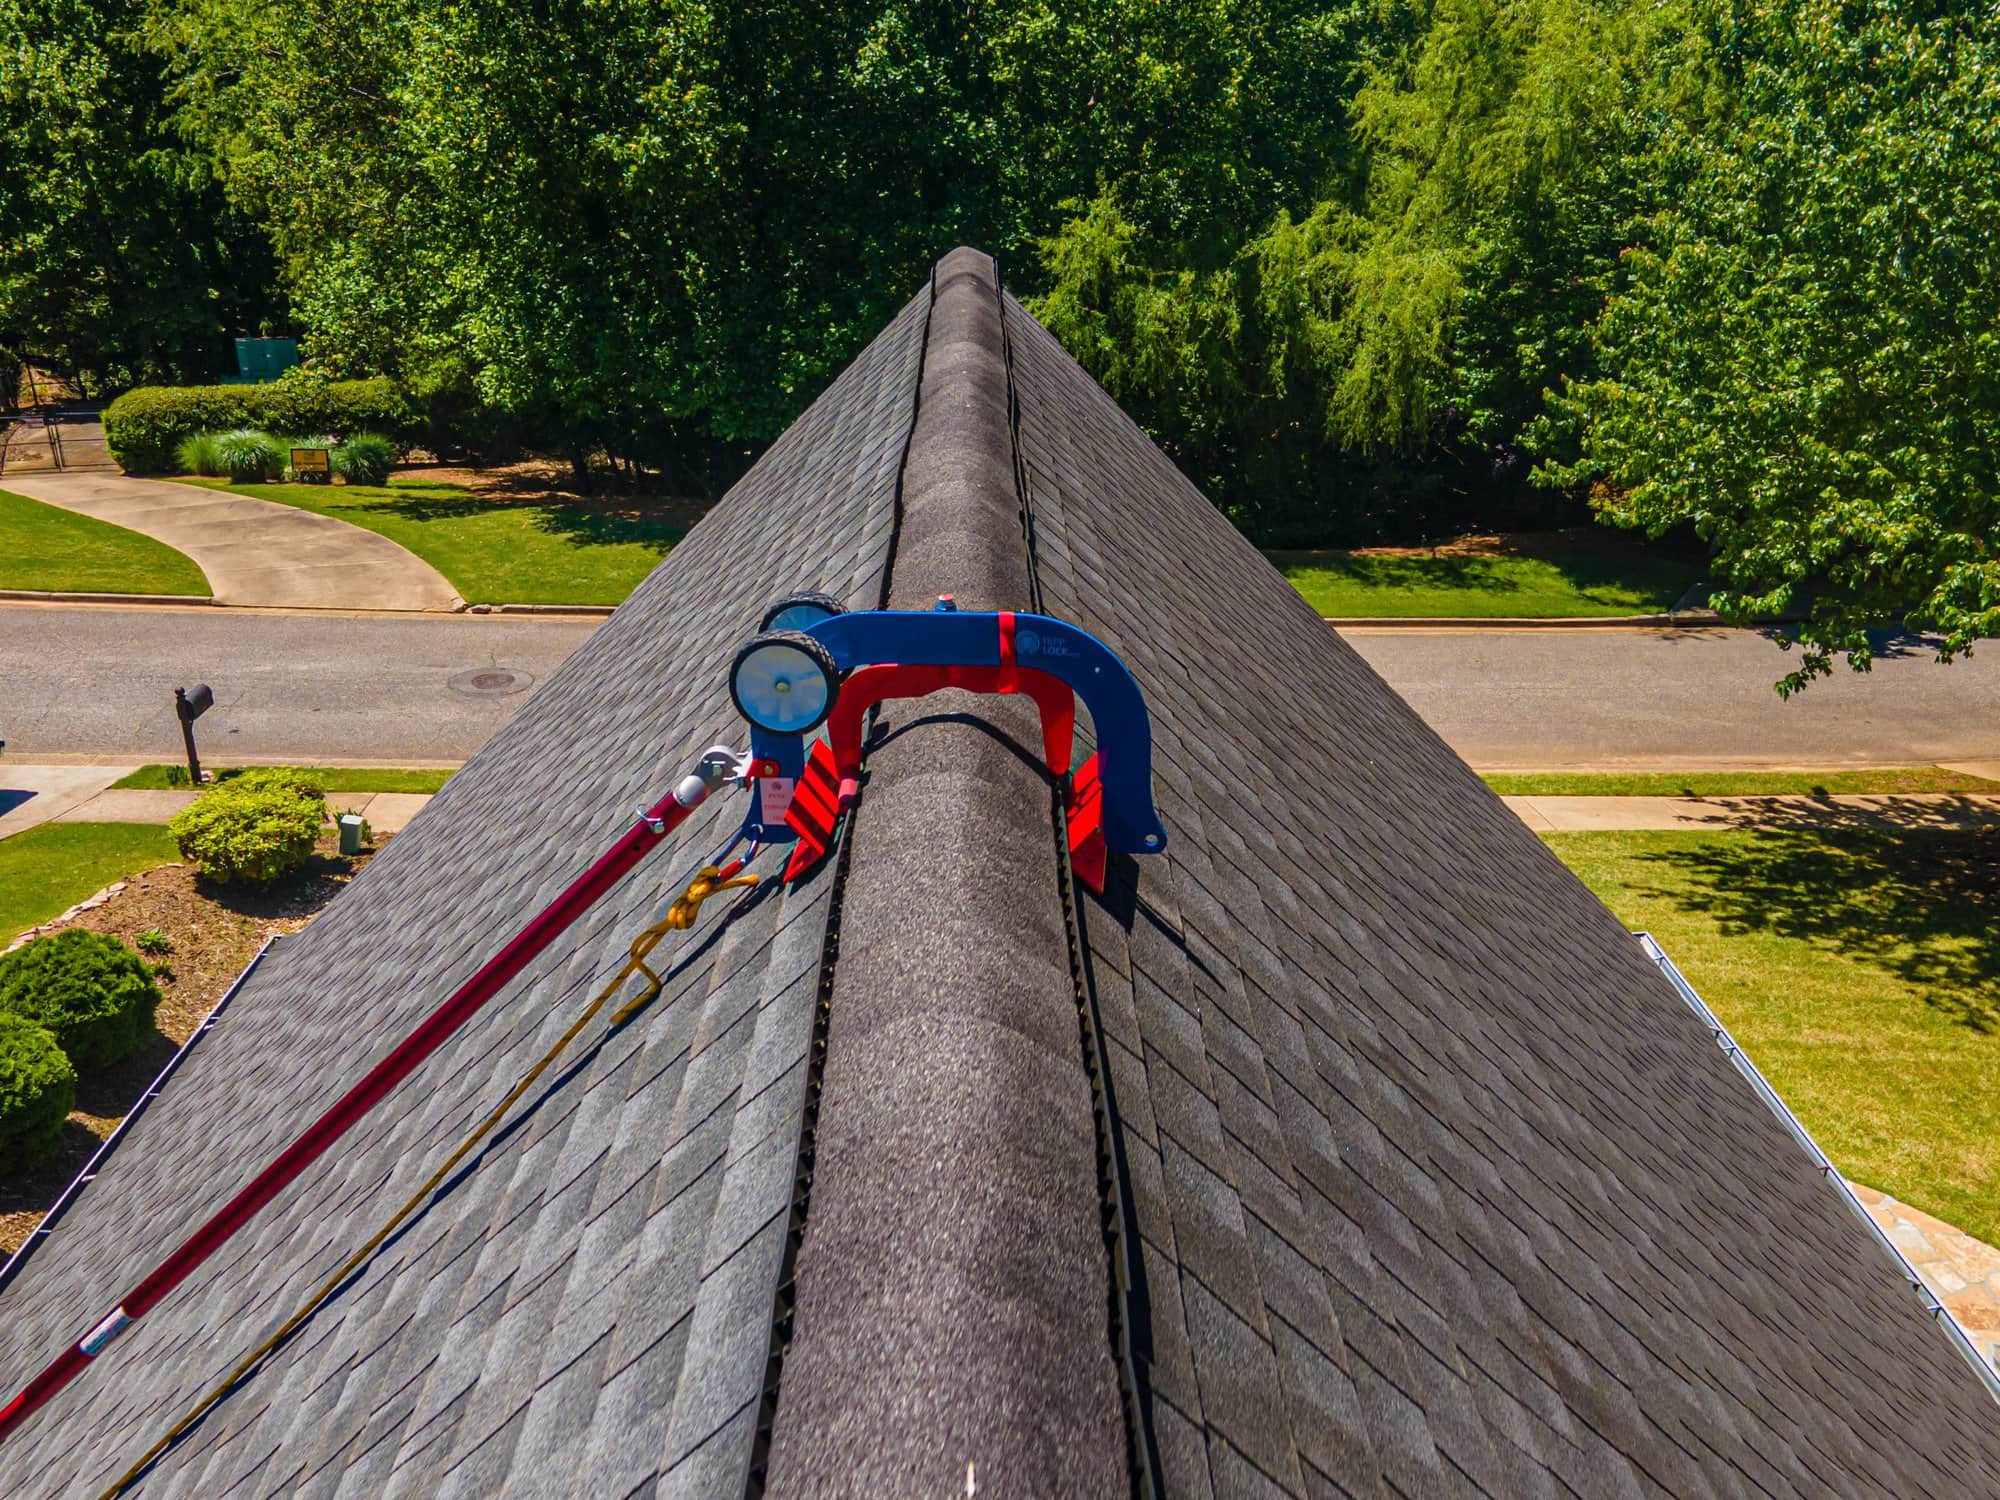
No rope setup, just roll it up the slope and flip it over the ridge.
That’s it.
For the first few years as an adjuster, I rarely used any fall protections. When I did, it was a time-consuming process of getting a lead line over the roof (praying the tennis ball didn’t break a window on the back side of the house), finding an anchor point on both ends of the rope, then climbing the roof. Not only does this take a lot of time, it takes a lot of rope. Protecting the ridge was also a big concern as the friction from the rope can easily cause damage to the shingles. Going off to the side of the ropes’ natural position was also problematic as this puts an extreme amount of strain on the rope which only increases the possibility of causing damage to the shingles.
Enter the HippLock. No rope setup, just roll it up the slope and flip it over the ridge. That’s it. With a rope attached you are ready to climb to the ridge. And you need only a 20-30 ft. rope rather than 150-200 ft. The device feels solid when puling on the rope and you are able to swing well off to the side of its location on the ridge to inspect for damages. My favorite part of using the HippLock is that it is easy to move from place-to-place on the roof to be able to inspect all areas. This is not easy with an over-the-top rope anchor system. There is no need to get off the roof and move anchor points. I found that after accessing the first ridge, removing the poles and resting them in the gutter made moving the HippLock from location to location very easy.
My biggest concern when using the HippLock was that it is fixed for use on a 10/12 pitch. I tested its holding power on many different pitches, including irregular pitches, and was pleasantly surprised to find that it felt just as secure on a 8/12 as it does on a 10/12. I was even able to use it on a 14/12 and it felt just as secure. No problem. Love this thing!! I can’t wait for the hip attachment to be available and try that out. It would be great to be locked onto a sturdy and solid anchor rather than wrapping the rope around a vent or attached to a gutter nail to access the hips. Don’t scoff, you’ve all done it, or at least thought about it.
The biggest concern for any adjuster is roof safety. This device keeps you firmly anchored on steep and high roofs, allows you to get more done without additional help. Leave the ladder assist behind and make more money more efficiently and safer. I recommend the HippLock to anyone that gets on 2 story and steep roofs.
…have you used a HippLock? I also haven’t had a chance to pick up the Outrigger, but I feel much more secure on my HippLock.
I haven’t been able to get the outrigger just yet, so I’ve been using mine like a ridge pro. That being said, I feel more comfortable with the HippLock even without the outrigger due to build quality alone. I run a team of 5 guys, and they all love my HippLock.
Absolutely love your product!!!
I recently attended a rope and harness certification class for one of the firms I work with, at the end of the class I asked the instructor if I could borrow his static roof display that was set on 10/12 to show him your product. Dude, he hadn’t seen anything like it and loved the idea and what I could do with it, told him about the outrigger attachment too. So, you should be getting a few calls or emails. Again, great product and hope to hear from you soon.

The Plus Package
The Plus HippLock package includes:
- HippLock Hook and Outrigger for access on gable and hip roofs
- Three 6-foot poles or four 4-foot poles (your choice)
The Base Package
The Base HippLock package includes:
- HippLock Hook for access on gable roofs
- Three 6-foot poles or four 4-foot poles (your choice)

